
Rigol DHO914S vs Siglent 1104X-E
I recently received a Rigol DHO914S to replace the Siglent SDS-1104XE I had just ordered not long ago. The timing of the release of the Rigol was such that I ordered the Siglent and learned about the new line of compact USB-C powered Rigols a few days later. Here’s a quick comparison table between the two scopes:
| Metric | Rigol | Siglent |
|---|---|---|
| Sampling Rate | 1 ADC at 1.25GS/sec | 2 ADC at 1GS/s each |
| Analog Bandwidth (un-hacked) | 125Mhz | 100Mhz |
| ADC resolution | 12 bits | 8 bits |
| Waveform capture rate | 1,000,000 wfm/s | 100,000wfm/s(normal mode) or 400,000 wfm/s(sequence mode) |
| Screen | 7" 1024x600 touchscreen | 7" 800x480 no touch |
| Connectivity | ethernet, USB-A,USB-B, HDMI,40-pin(logic analyzer), AFG out, Aux out | ethernet, USB-Ax2, USB-B,SBUS (logic analyzer), Trig out/(Pass/fail) |
| Power supply | external USB-C brick (option for battery) | mains power with 3 prong plug |
| AWG | integrated | external USB module |
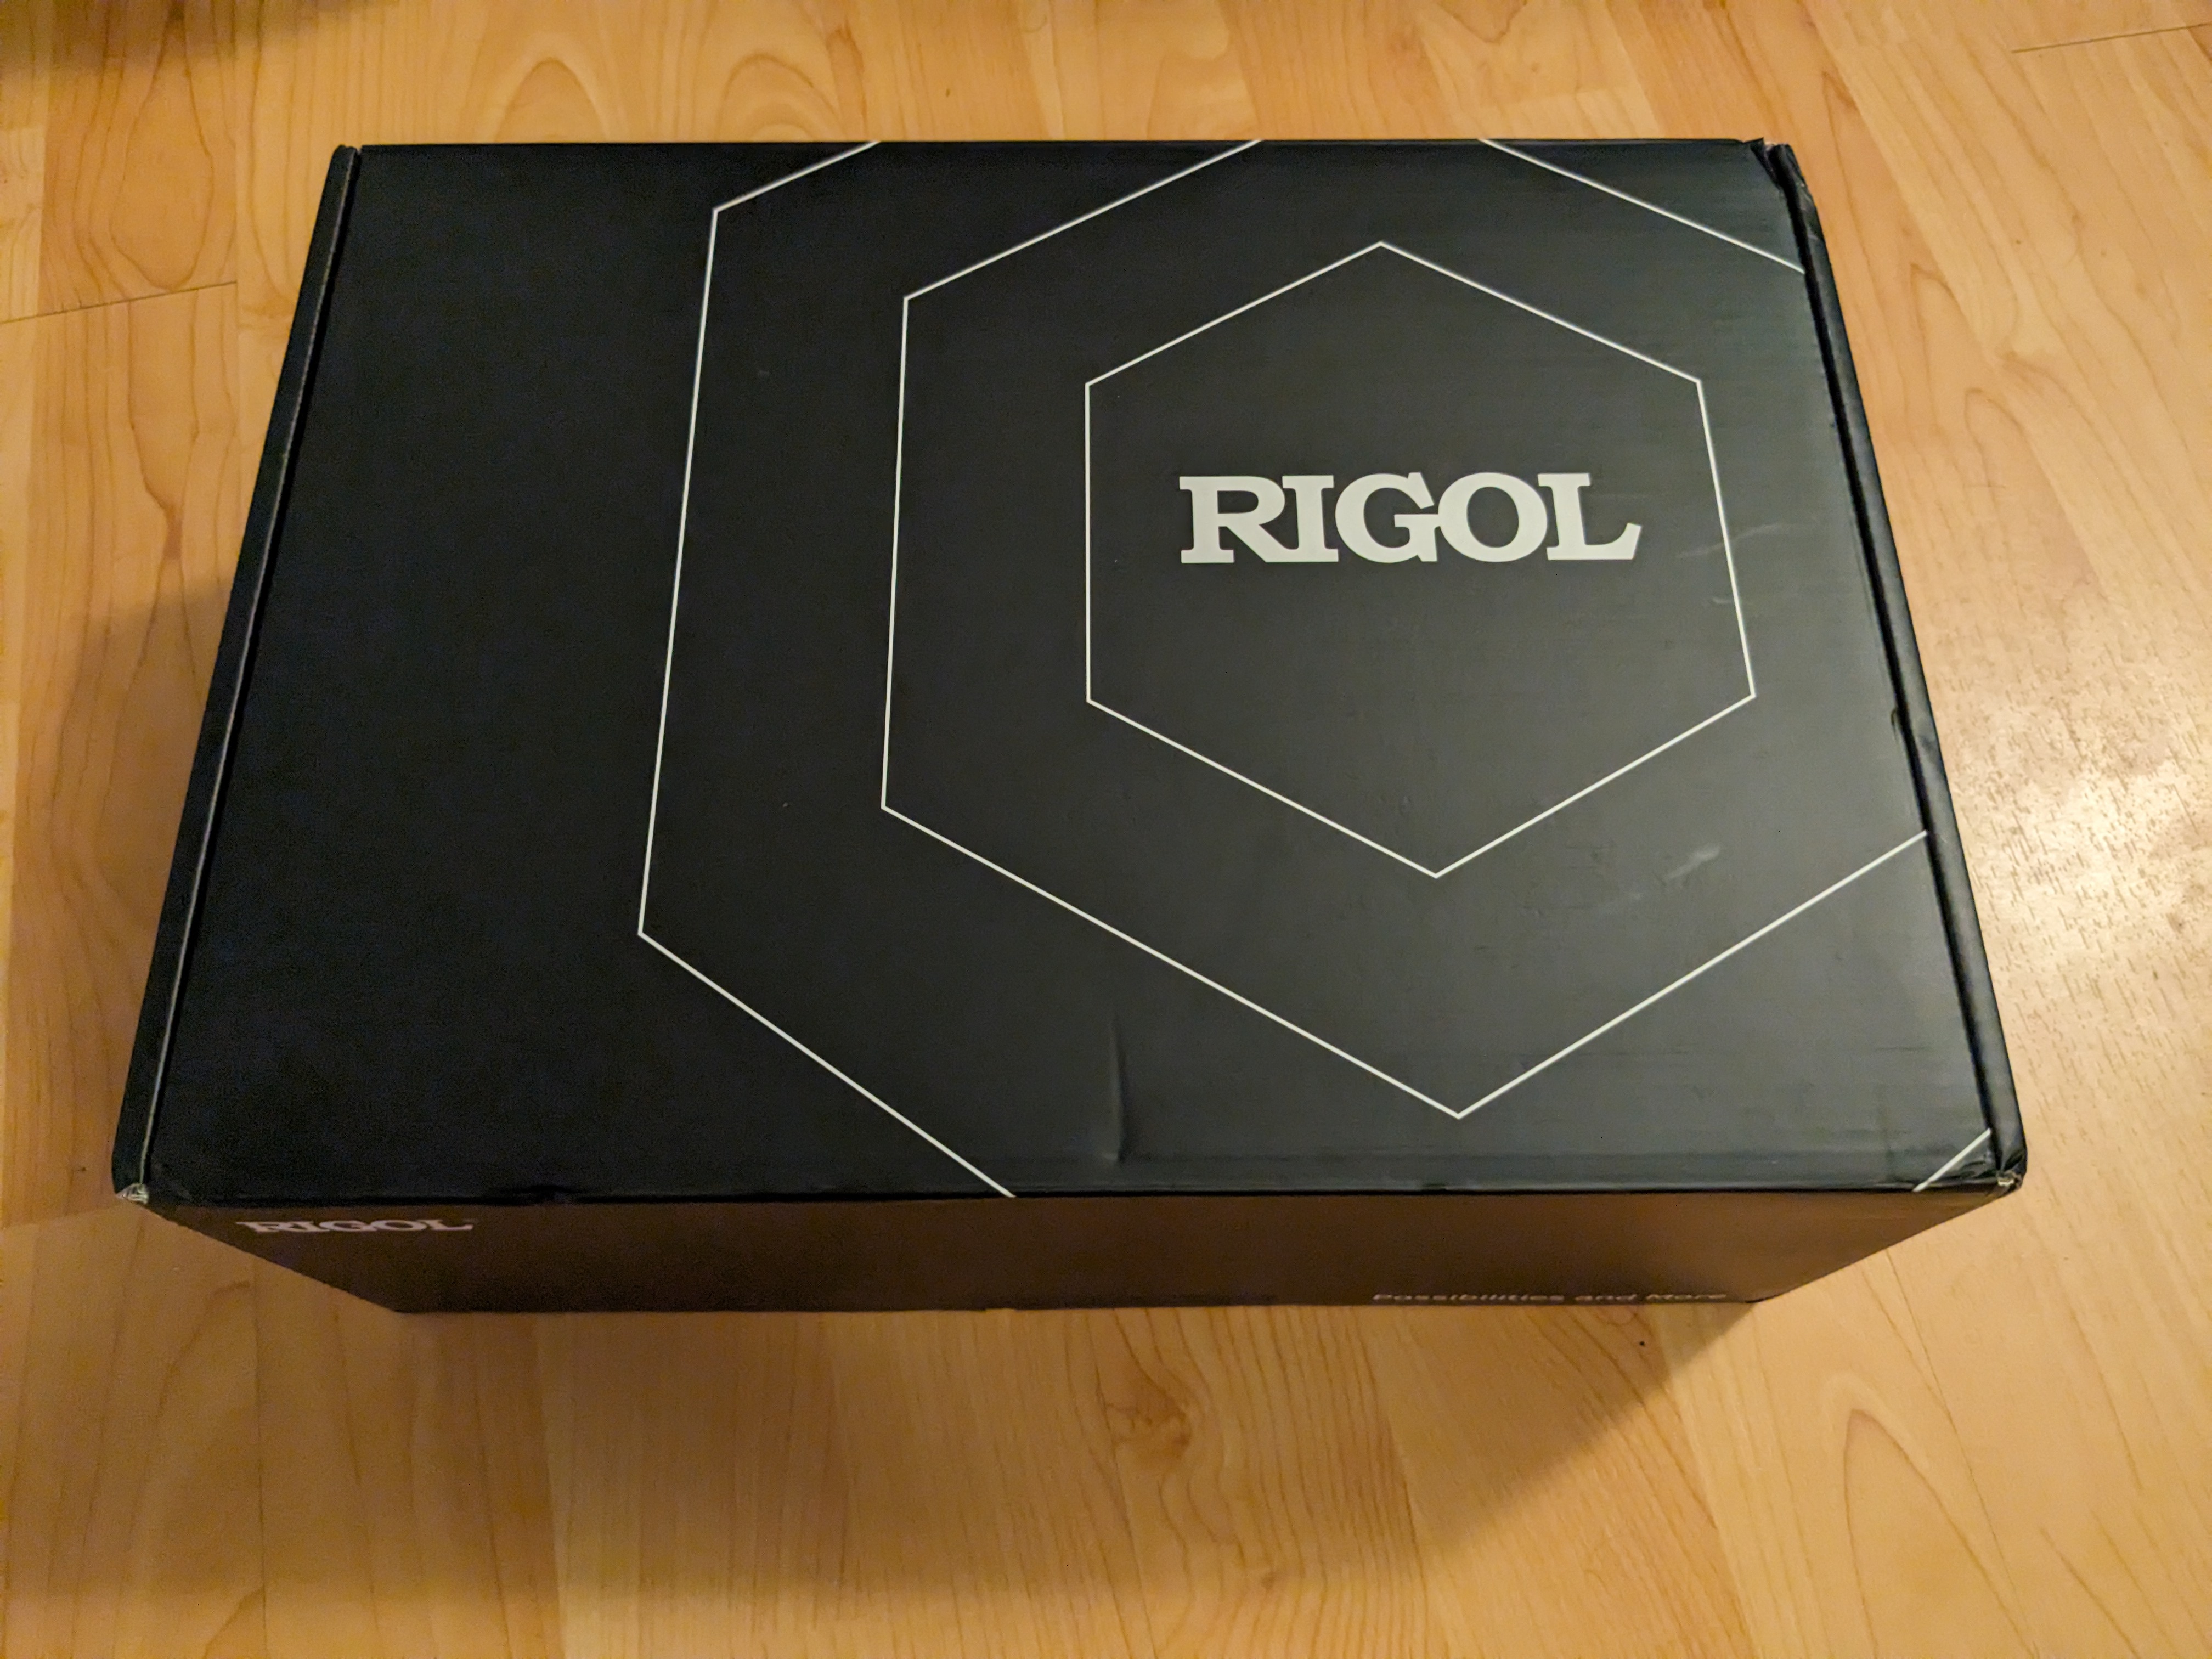
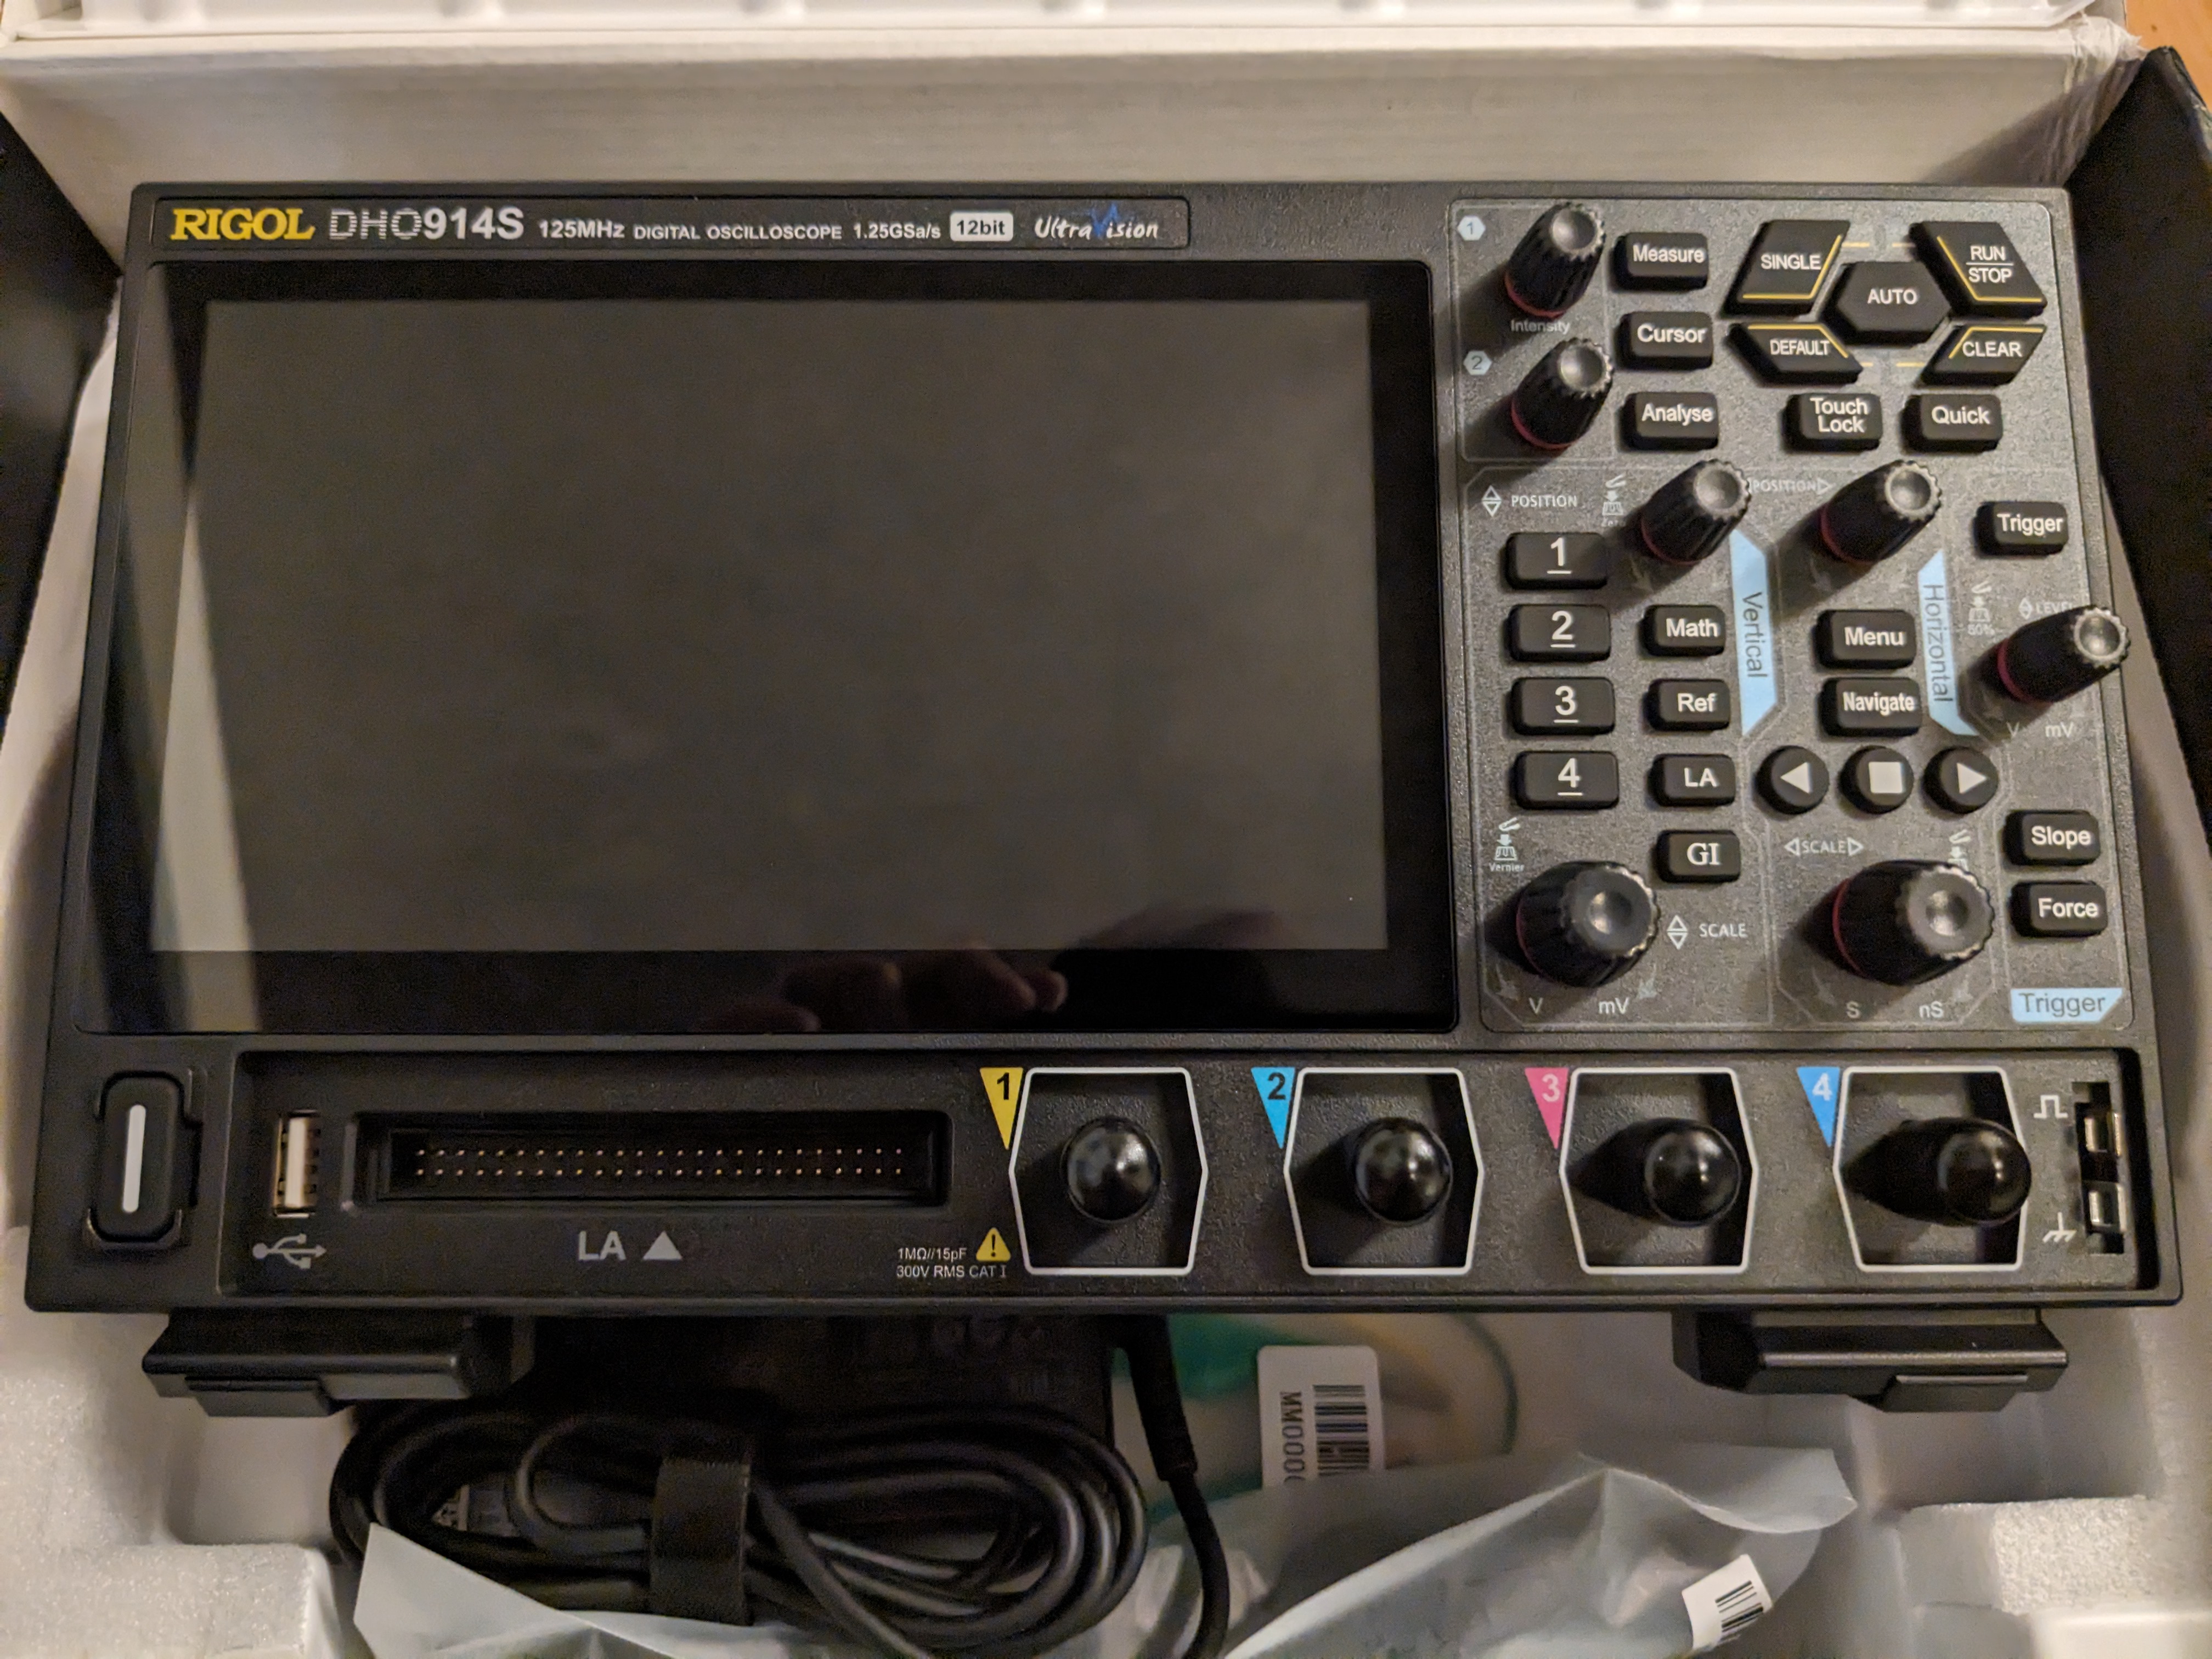
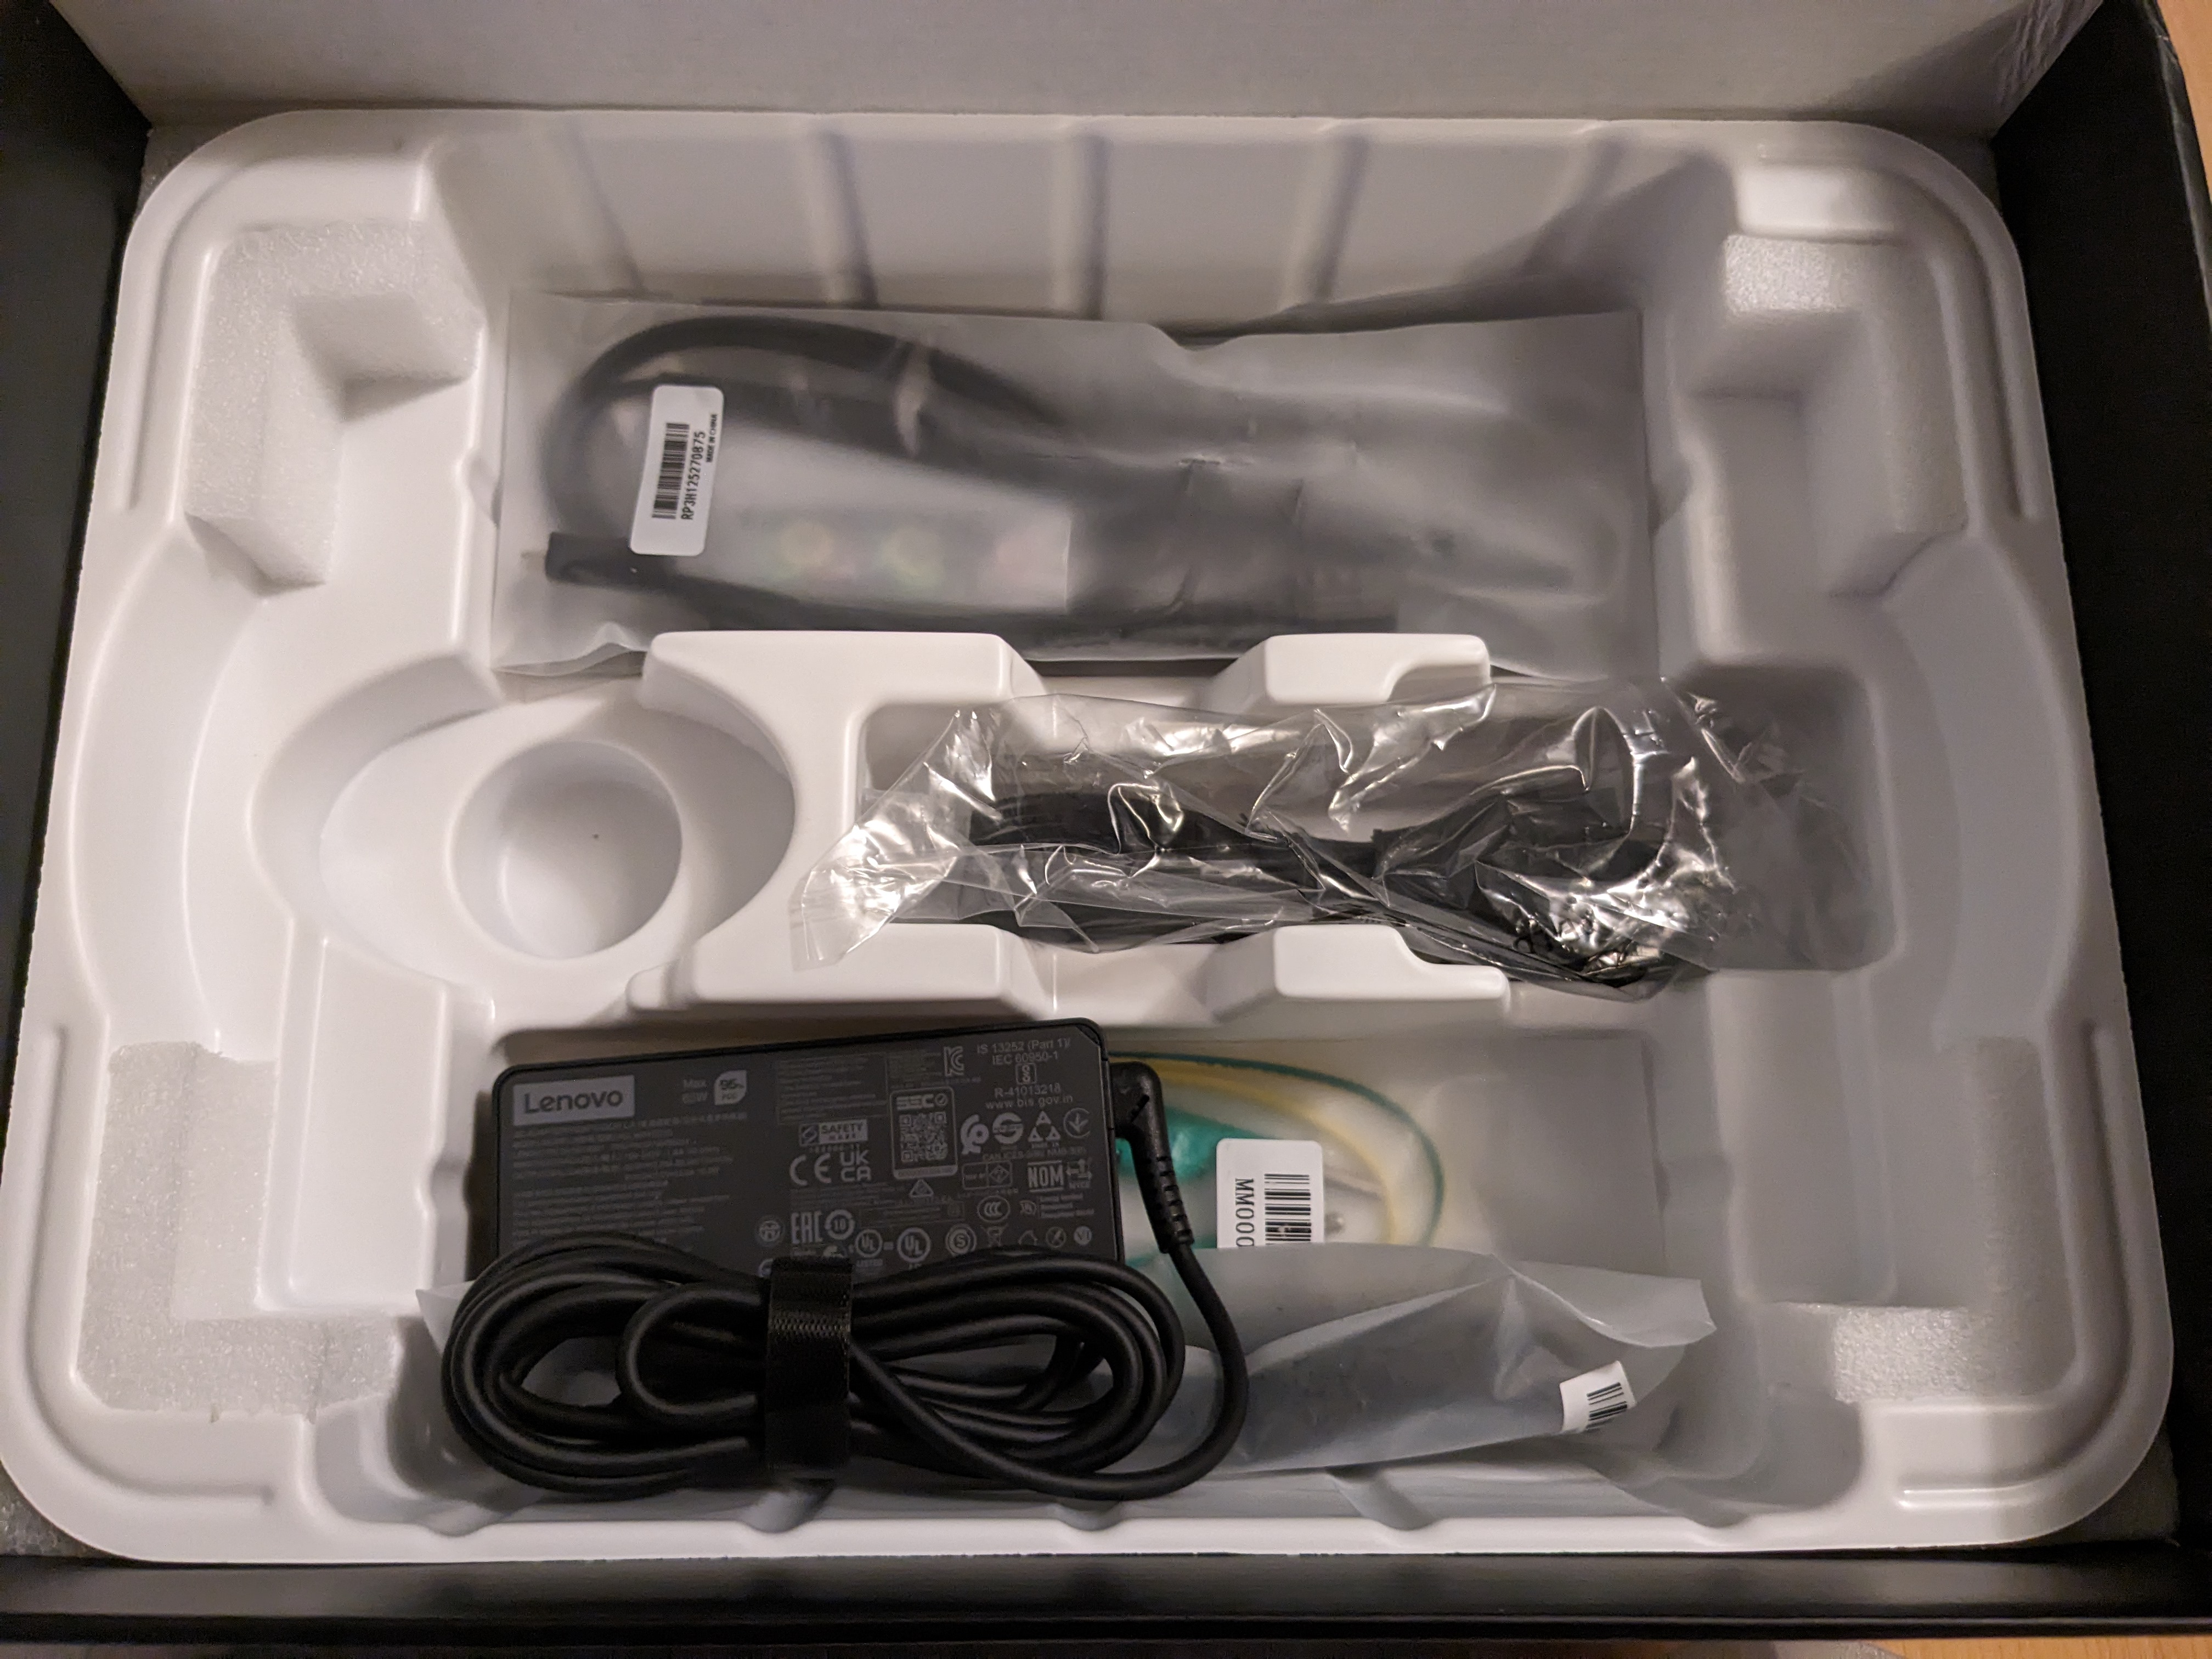
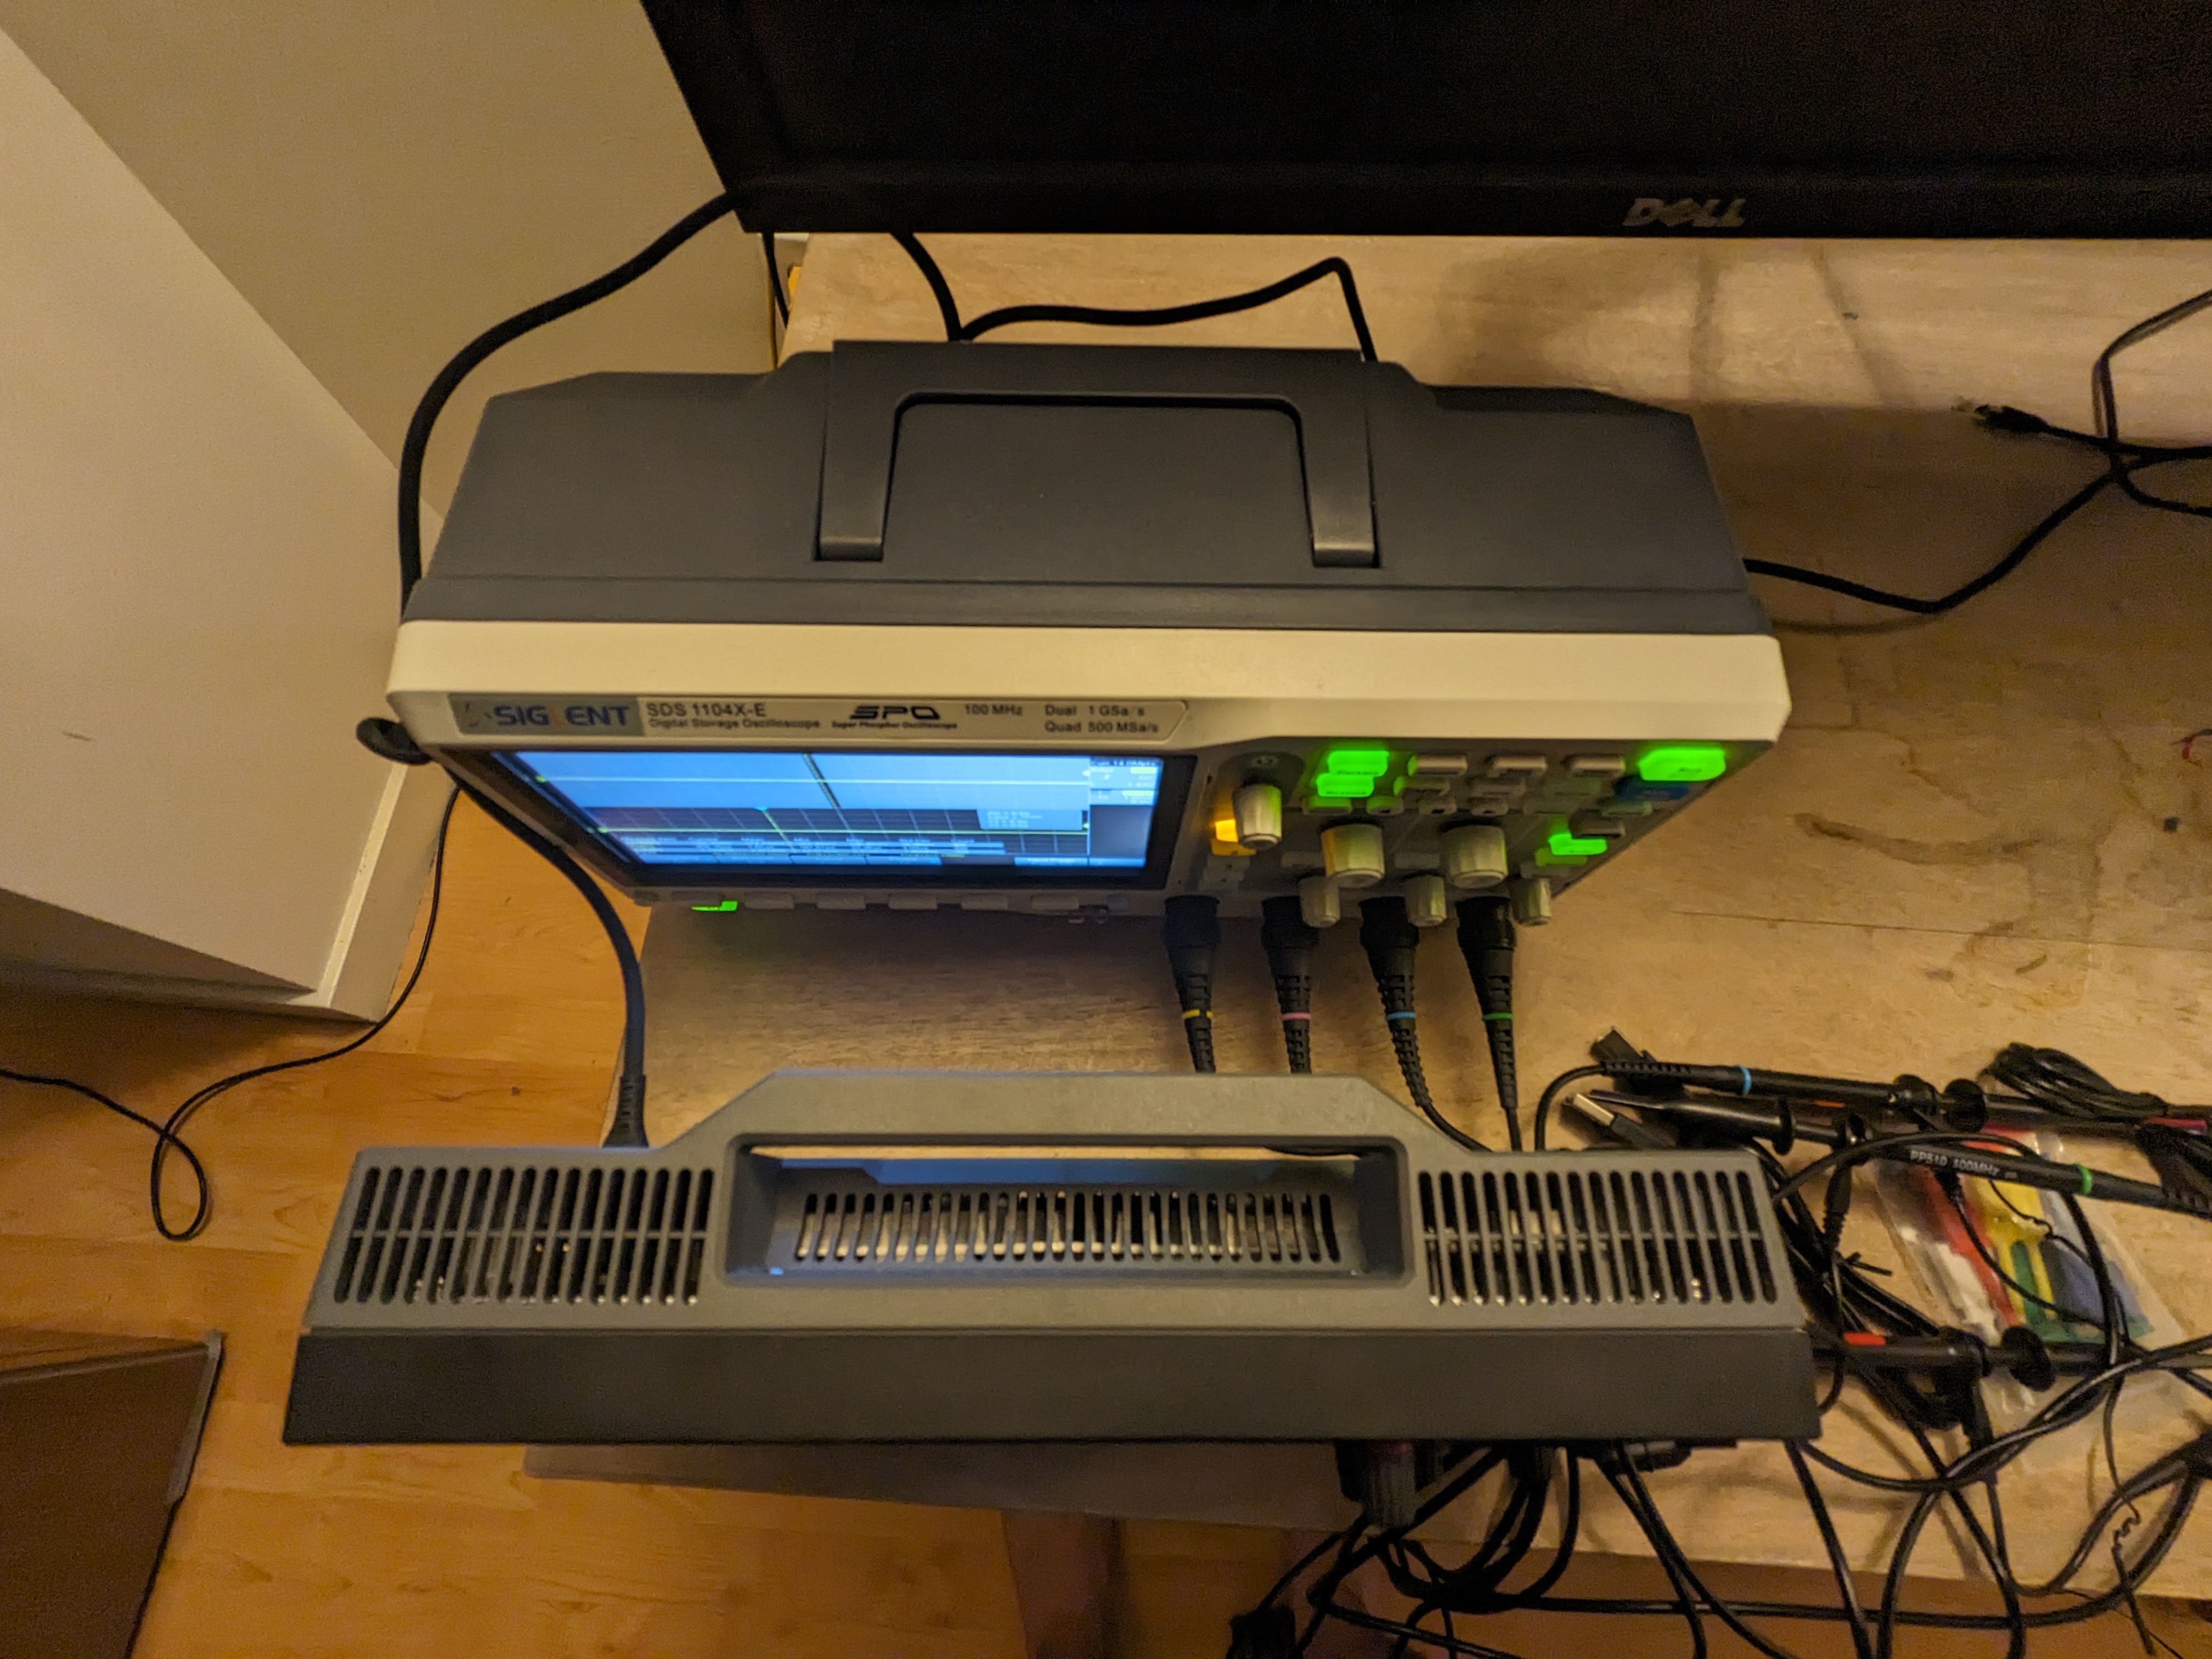
Rigol Unboxing
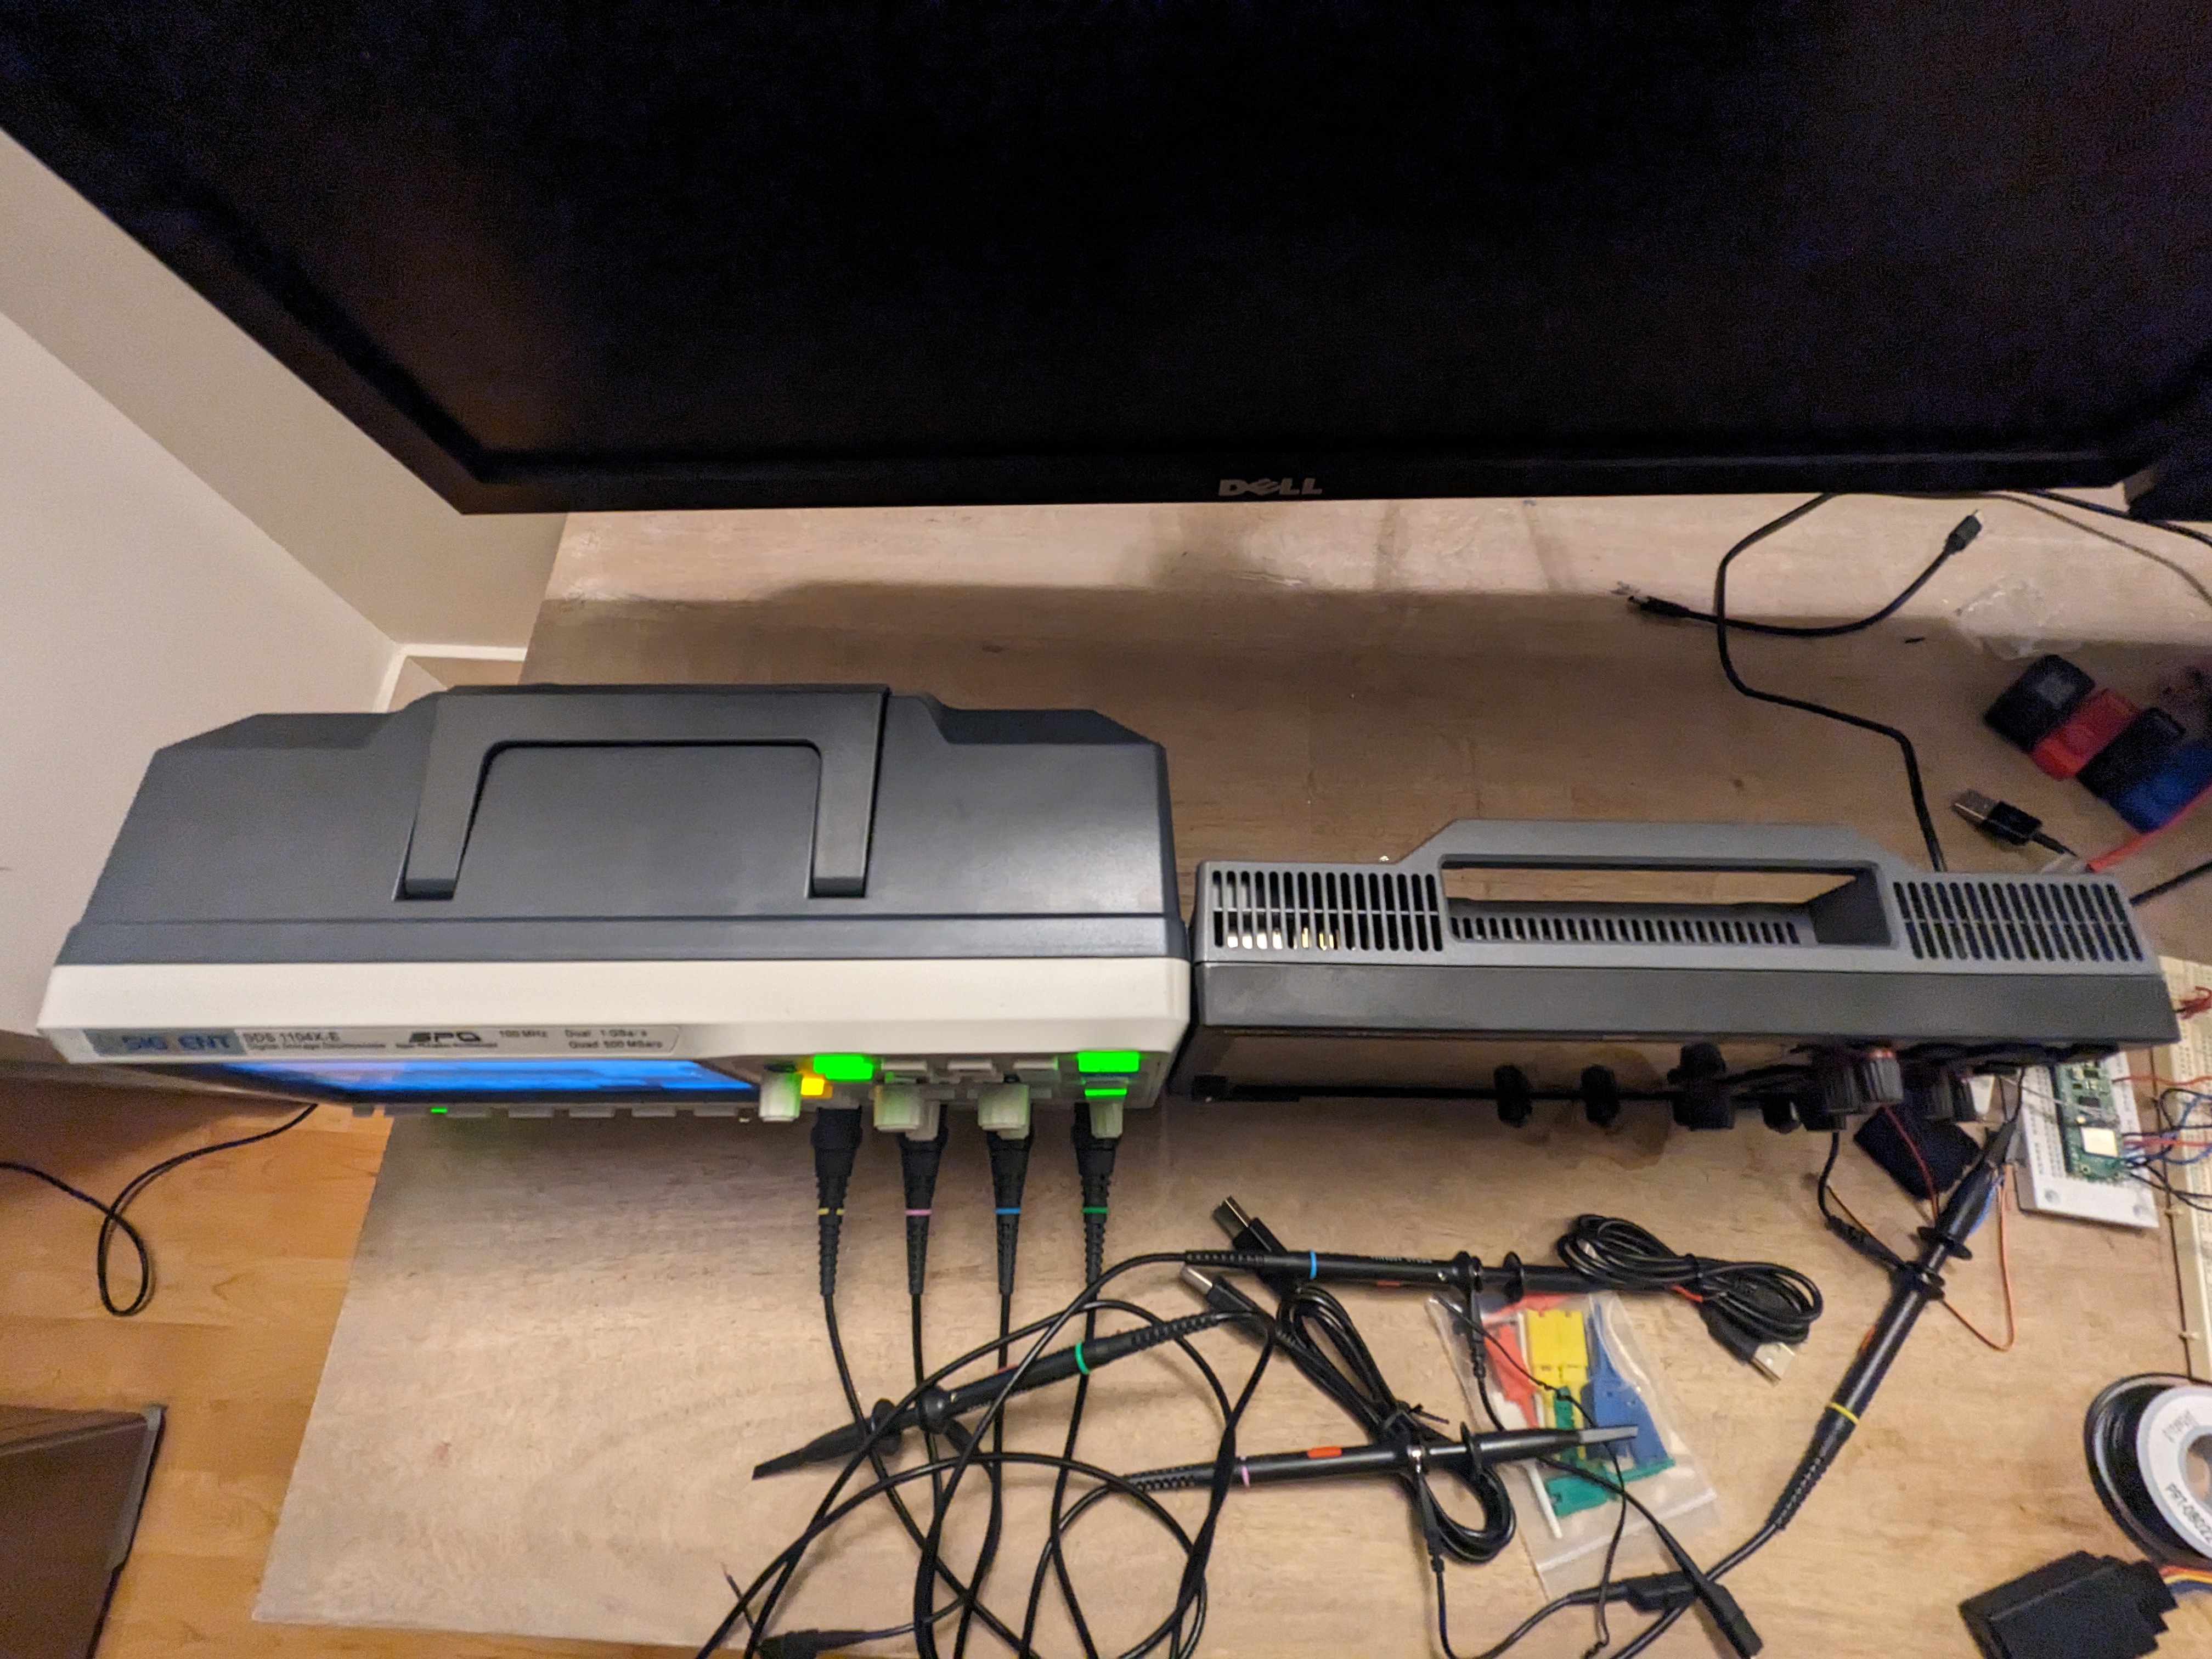
Side by side size comparison
The one thing that struck me on opening the Rigol box is how amazingly small the 914S is, especially compared with the Siglent (which itself is already small).
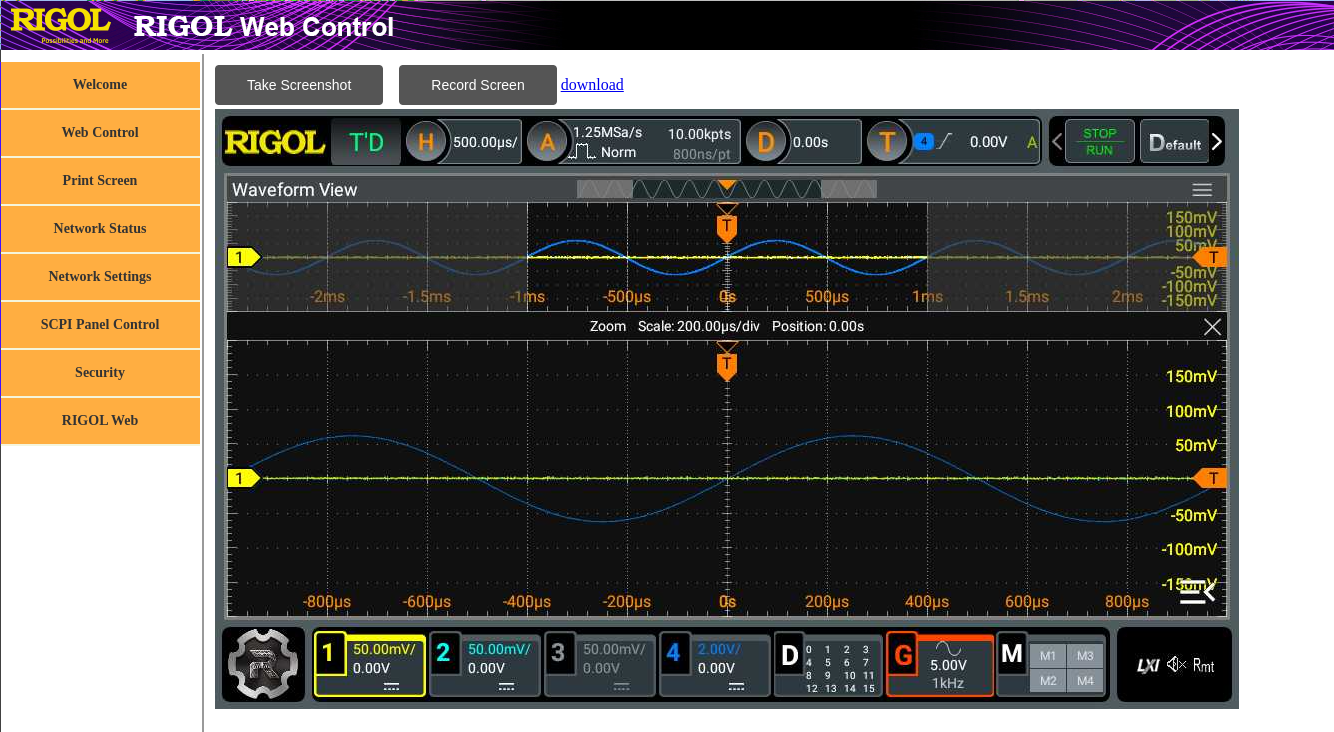
Web Control
The web control is a big difference functionally for me on linux between the two scopes. Something about the Siglent’s web control doesn’t play nice with chrome and just renders incorrectly such that clicks aren’t handled properly and you have to scroll horizontally to see the whole window. The Rigol web control didn’t have any rendering issues for me and for the most part just works. The one quirk I ran into is that if you use the record screen feature while the web control is on, the web control window accepts clicks but stops updating. This might be important depending on how you intend to use the scope. I’m using it hands-on at my desk, so not much of an issue for now.
HDMI Output
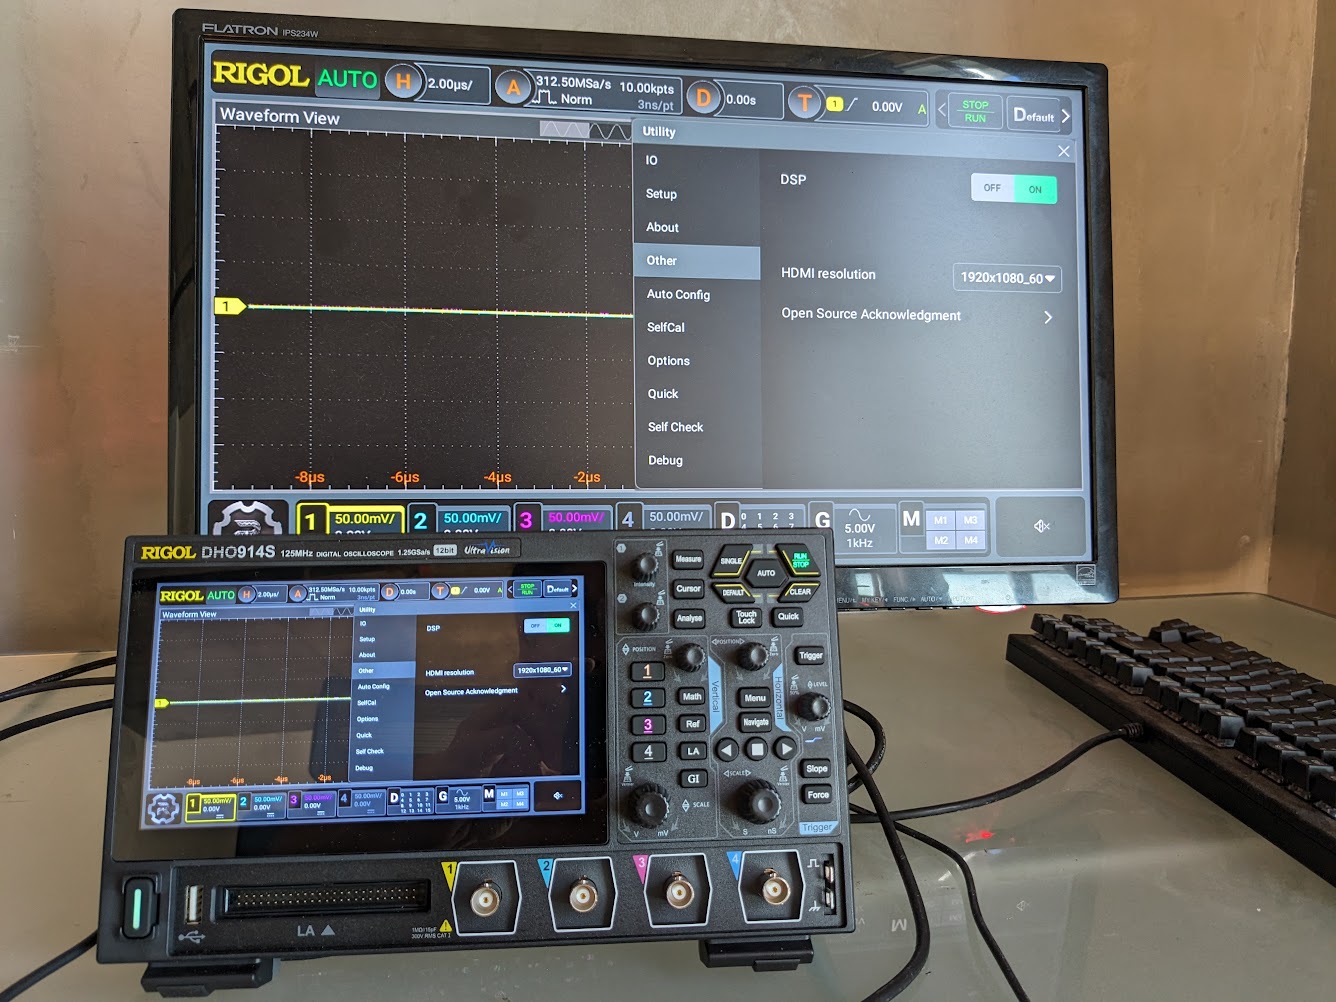
One potentially nice feature present in the Rigol, but absent from the Siglent is HDMI out. The resolution is adjustable up to 1920x1080, but basically just plug in a display and it works. To get access to that HDMI resolution menu, tap the “About” link in the Utility menu 3 times to enter test mode and get the “HDMI resolution” to appear in the “Other” menu. The test mode is not preserved across power cycles so you’ll have to redo the tapping “About” 3 times each time you power on the scope, if you need it.
Wifi support
The DHO914S runs android, which means you can interact with it using adb, so connect an ethernet cable to get the scope an IP address and then just run:
adb connect <your scope's IP address>:55555
you can get the scope’s IP address from the Utility menu, under the “IO” tab.
adb ls /system/lib/modules
reveals that the scope has a kernel module for the RT8188EU wifi adapter. If you then:
adb shell
dmesg
you’ll see this during the scope’s boot logs:
[   25.842044] =======================================================
[   25.842233] ==== Launching Wi-Fi driver! (Powered by Rockchip) ====
[   25.842435] =======================================================
[   25.842949] Realtek 8188EU USB WiFi driver (Powered by Rockchip,Ver v5.2.2.3_24783.20171030) init.
[   25.843144] [WLAN_RFKILL]: rockchip_wifi_power: 1
[   25.843343] [WLAN_RFKILL]: rockchip_wifi_power: rfkill-wlan driver has not Successful initialized
[   25.844232] RTW: module init start
[   25.844434] RTW: rtl8188eu v5.2.2.3_24783.20171030
[   25.844868] [WLAN_RFKILL]: rockchip_wifi_get_oob_irq: Enter
[   25.845067] [WLAN_RFKILL]: rockchip_wifi_get_oob_irq: rfkill-wlan driver has not Successful initialized
[   25.847721] bFWReady == _FALSE call reset 8051...
Now let’s try to get wifi connectivity working- open another shell on the scope and startup wpa_cli
adb shell
wpa_cli -i wlan0
You’ll get the wpa_cli interactive prompt:
rk3399_rigol:/ # wpa_cli -i wlan0
wpa_cli v2.6-devel-7.1.2
Copyright (c) 2004-2016, Jouni Malinen <j@w1.fi> and contributors

This software may be distributed under the terms of the BSD license.
See README for more details.


Interactive mode
>
Now that you’re in the wpa_cli interpreter, start a wifi scan to see what SSIDs are detected, and list the results to find your desired SSID
> scan
OK
> scan_results
Now add a network, the command will return a network ID that you’ll use in subsequent commands:
> add_network
1
From now on our network ID will be 1 because of the above command. Now we select our desired SSID:
> set_network 1 ssid "my_network"
OK
If you have an SSID with a weird special characters, you might need single quotes outside your double quotes. Now enter the passphrase for your SSID and enable the network, you should output indicating it’s trying to connect to your specified SSID:
> set_network 1 psk "your_passphrase_here"
OK
> enable_network 1
OK
<3>CTRL-EVENT-STATE-CHANGE id=-1 state=3 BSSID=00:00:00:00:00:00 SSID=
<3>CTRL-EVENT-SCAN-STARTED
<3>CTRL-EVENT-SCAN-RESULTS
<3>WPS-AP-AVAILABLE
<3>Trying to associate with 00:00:00:00:00:00 (SSID='my_network' freq=2462 MHz)
<3>CTRL-EVENT-STATE-CHANGE id=-1 state=5 BSSID=00:00:00:00:00:00 SSID=
<3>CTRL-EVENT-STATE-CHANGE id=1 state=6 BSSID=00:00:00:00:00:00 SSID=my_network
<3>Associated with 00:00:00:00:00:00
<3>CTRL-EVENT-SUBNET-STATUS-UPDATE status=0
<3>CTRL-EVENT-STATE-CHANGE id=1 state=7 BSSID=00:00:00:00:00:00 SSID=my_network
<3>CTRL-EVENT-STATE-CHANGE id=1 state=8 BSSID=00:00:00:00:00:00 SSID=my_network
<3>WPA: Key negotiation completed with 00:00:00:00:00:00 [PTK=CCMP GTK=CCMP]
<3>CTRL-EVENT-CONNECTED - Connection to 00:00:00:00:00:00 completed [id=1 id_str=]
<3>CTRL-EVENT-STATE-CHANGE id=1 state=9 BSSID=00:00:00:00:00:00 SSID=my_network
Next select the network and save the configuration you made to keep it working the next time you power on the scope, and check the IP address you were issued:
> select_network 1
OK
> save_config
OK
> status
bssid=00:00:00:00:00:00
freq=2462
ssid=my_network
id=1
mode=station
pairwise_cipher=CCMP
group_cipher=CCMP
key_mgmt=WPA2-PSK
wpa_state=COMPLETED
ip_address=192.168.0.107
p2p_device_address=00:00:00:00:00:00
address=00:00:00:00:00:00
uuid=00000000-0000-0000-0000-000000000000
<3>CTRL-EVENT-STATE-CHANGE id=1 state=9 BSSID=00:00:00:00:00:00 SSID=my_network
<3>CTRL-EVENT-CONNECTED - connection to 00:00:00:00:00:00 completed (auth) [id=1 id_str=]
At this point you should be able to disconnect the scope’s ethernet cable and connect to the scope’s web interface using the new wifi IP address you found in the last command- in this example 192.168.0.107.
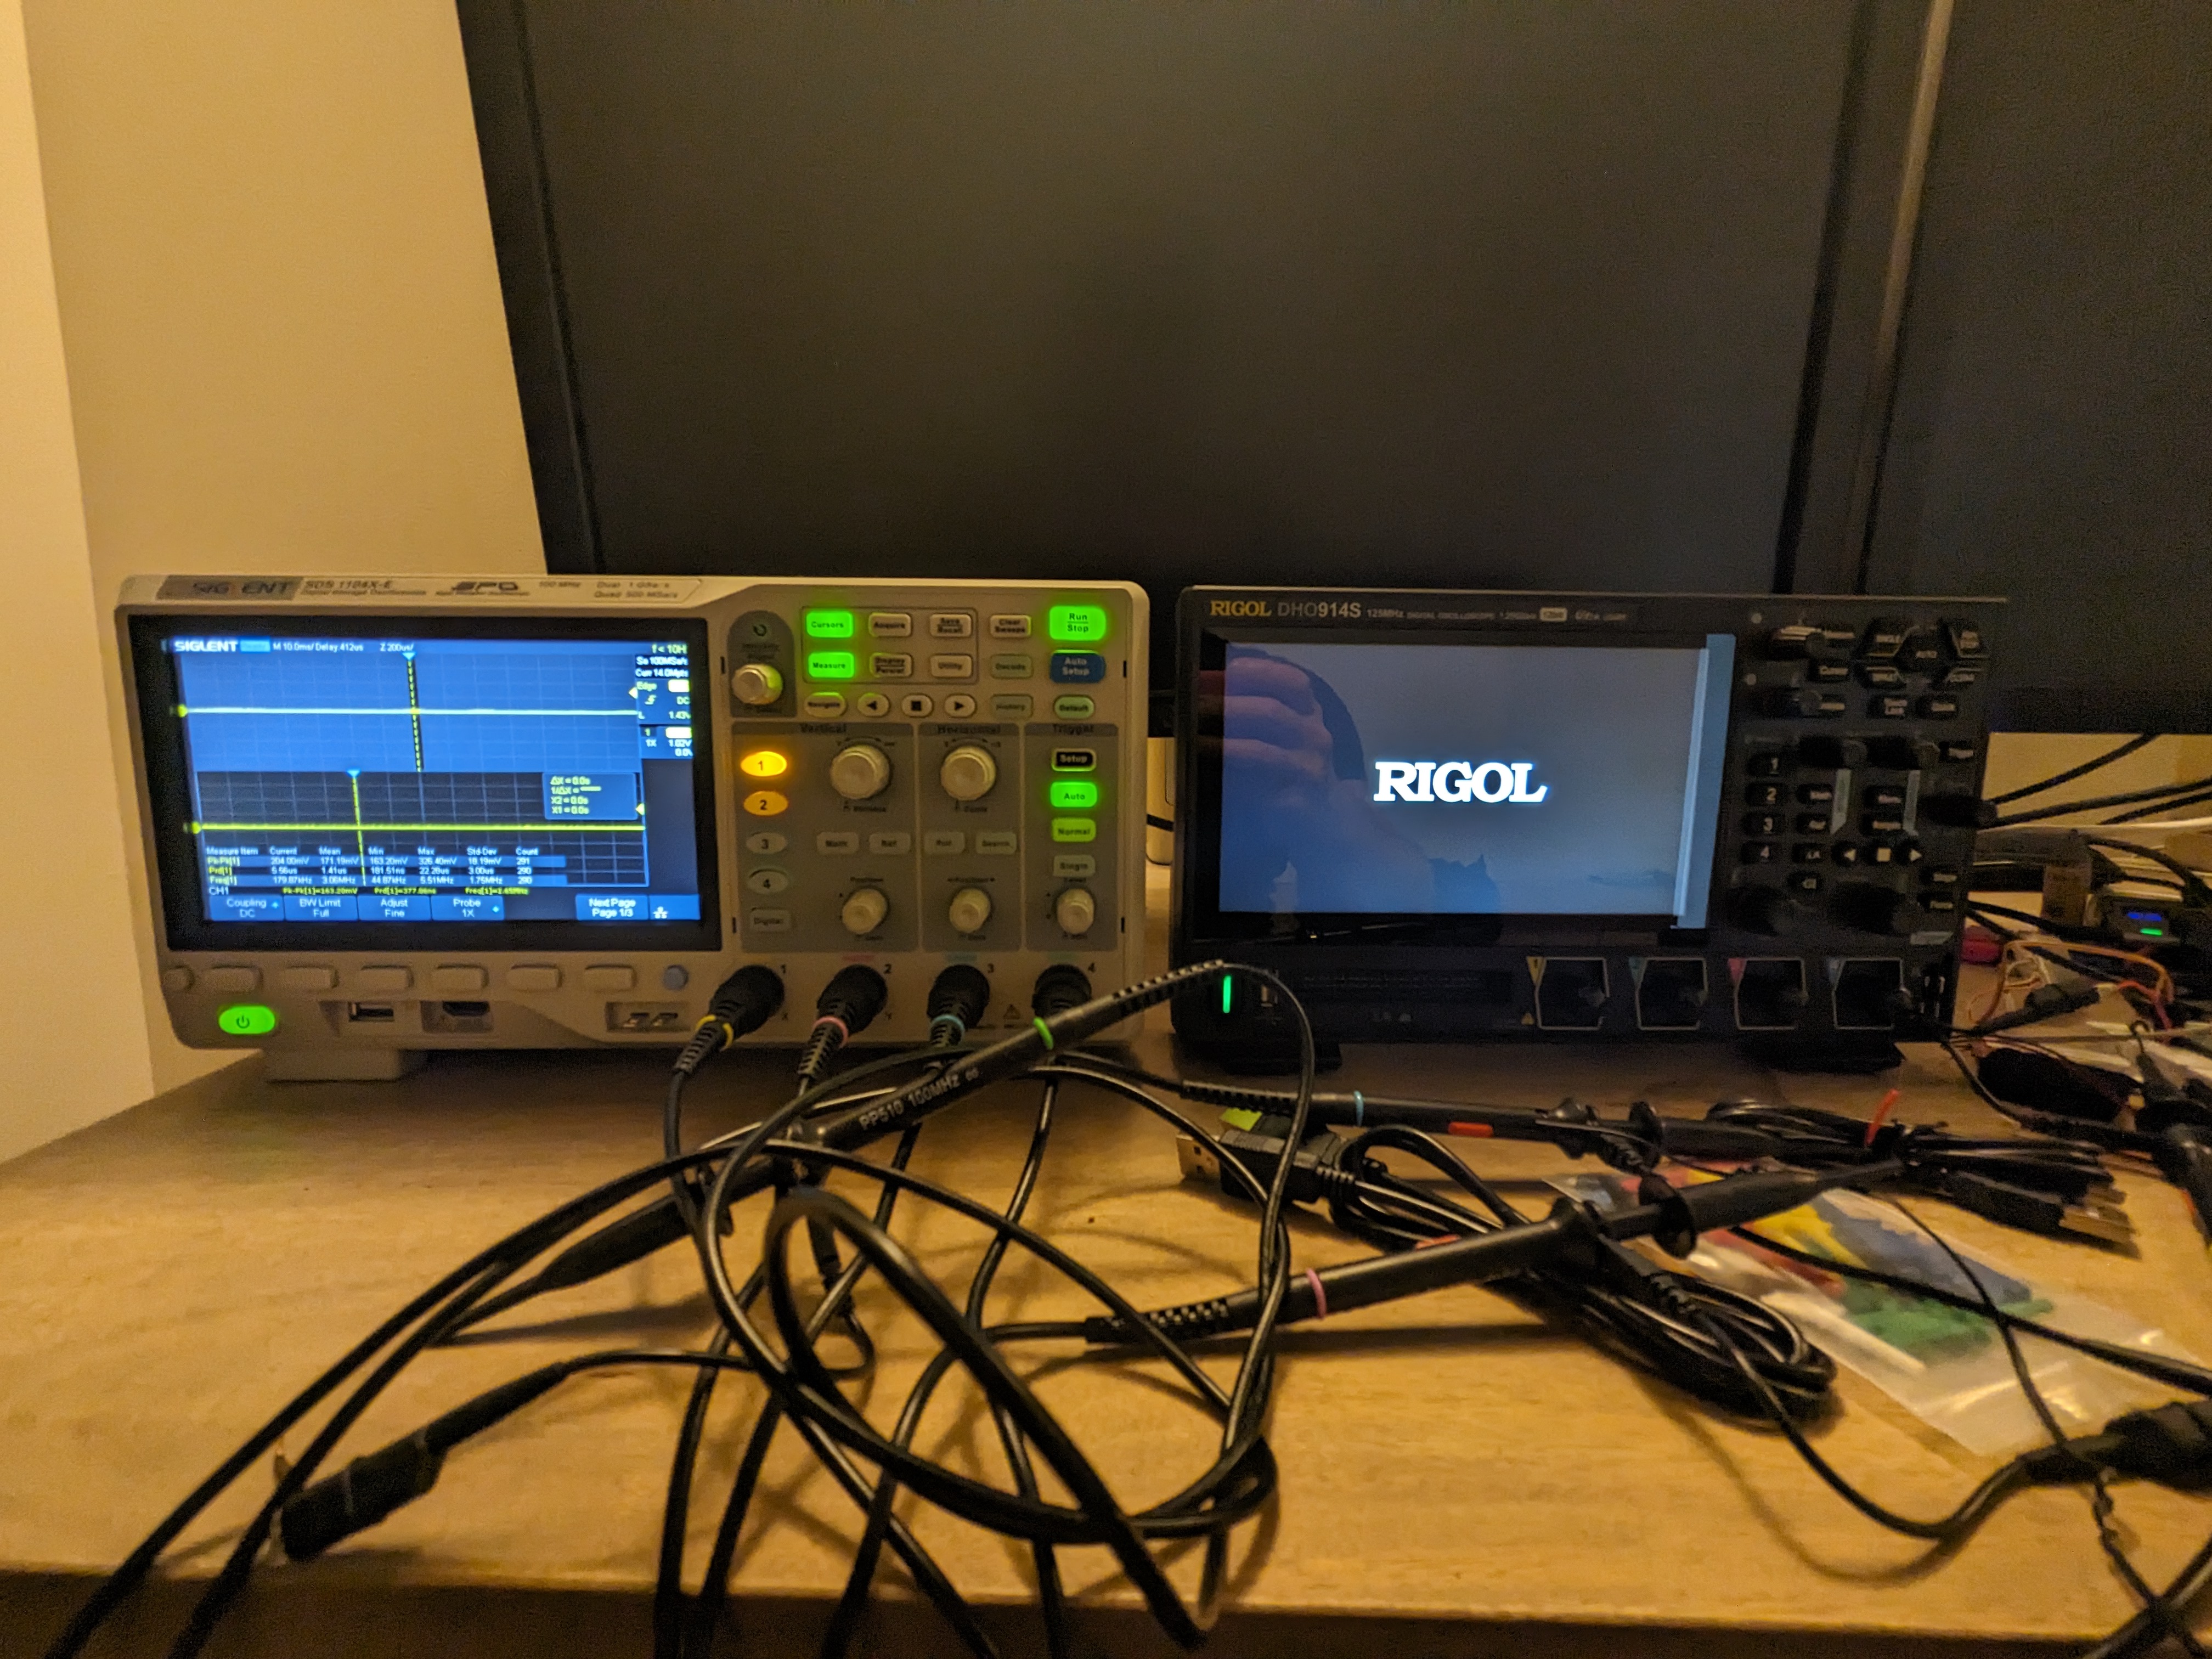
Detailed comparison
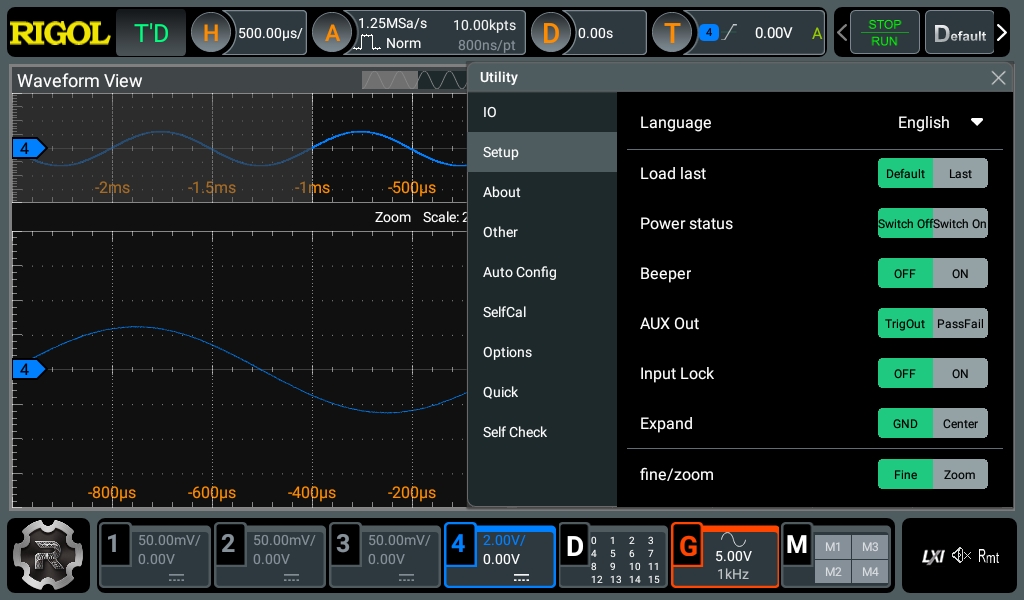
In operation, there are notable differences in using the two scopes. I saw lots of speculation online about noise levels- in my opinion neither scope is noisy, so that’s not an issue for me. Certain features are quicker to access in the Siglent by default. Notably, out of the box zoom mode just requires a horizontal knob click on the Siglent, while by default the Rigol uses horizontal knob click to toggle vernier on and off. It’s possible to switch to the siglent style behavior by opening the Utility menu and then the Setup tab, and toggling the final “fine/zoom” switch. Annoyingly, however, this setting doesn’t seem to get preserved across power cycles.
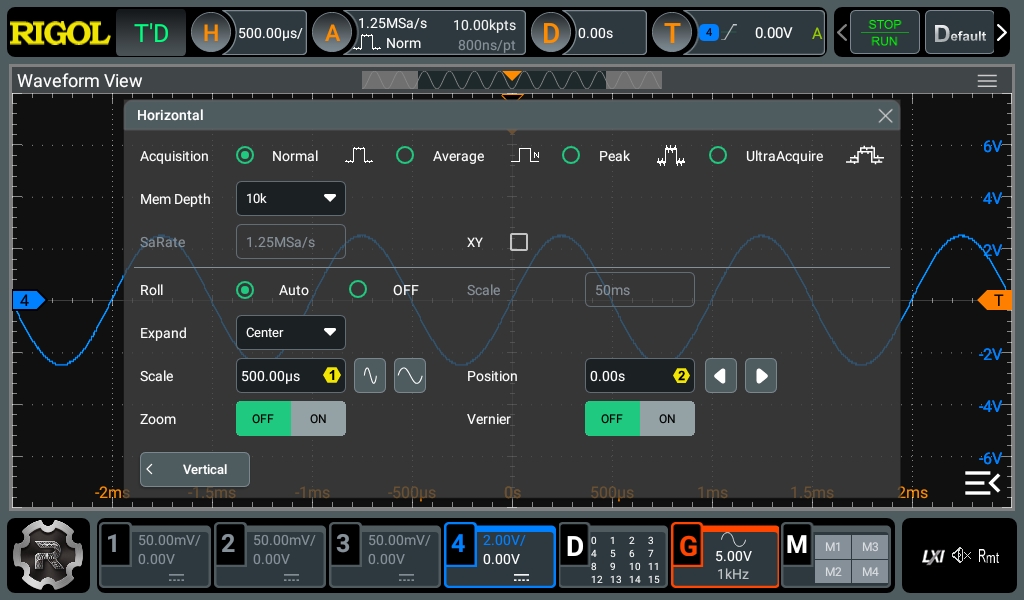
Zoom mode can also be toggled from the horizontal settings menu:
Boot time on the Rigol is a bit painful- 49 seconds when I timed it.